
Hello, Welcome to another blog of mine, Today will look at how to manage Citrix via PowerShell. You can do some extraordinary tasks via PowerShell paired with Citrix Cloud.
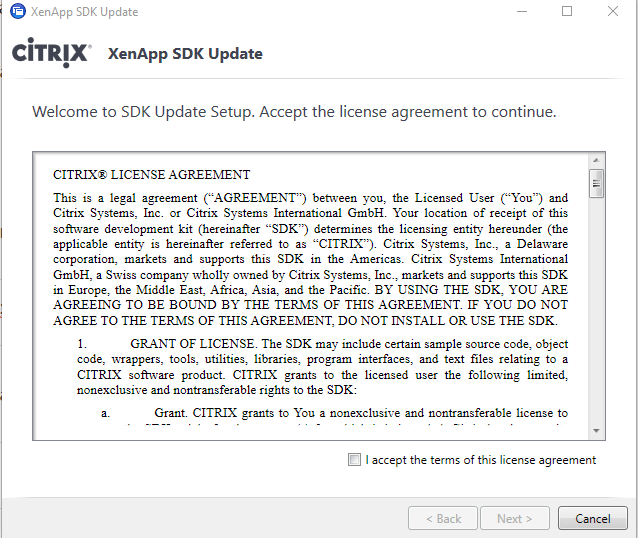
Prerequisites: Citrix PowerShell SDK Install the SDK for the relevant version of Citrix XenDesktop environment. Once the installation done we can now start writing our commands and scrip to manage Citrix XenDesktop.
It’s straightforward installation as you can see below:
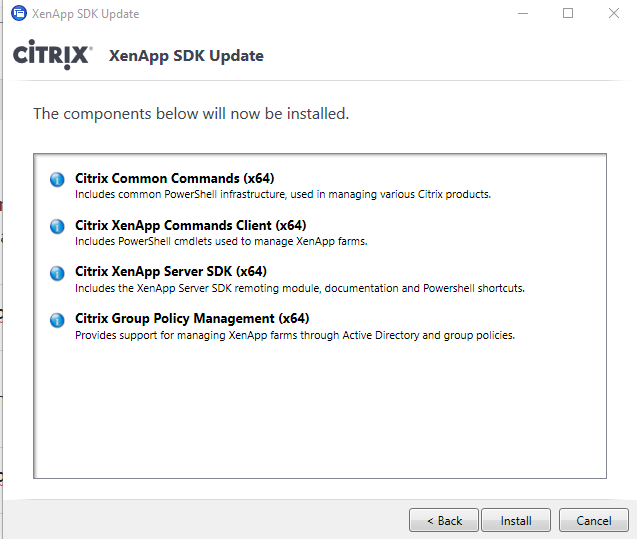
Once you click Install
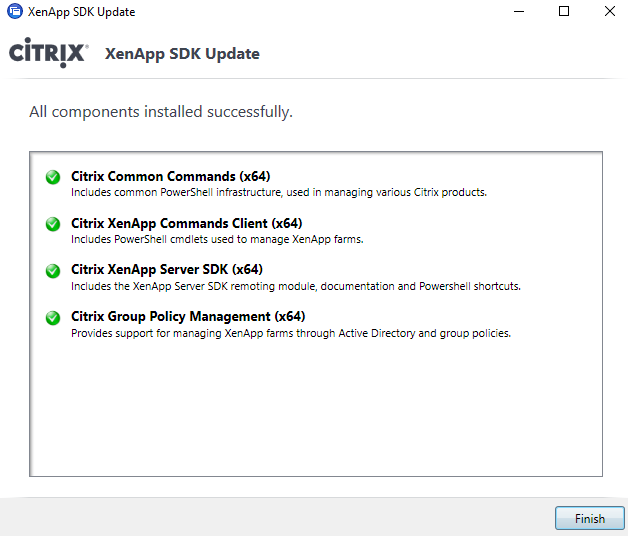
Hooray, we have installed Citrix XenApp & XenDesktop SDK, Now first thing you need to do is to add the PS Snap in for Citrix in PowerShell, |The below command will add the Citrix snap in for us to use.
Add-PSSNappin citrix*
Now check if the Citrix Snap-ins are added correctly using the below command.
Get-PSSnapin -name *Citrix*
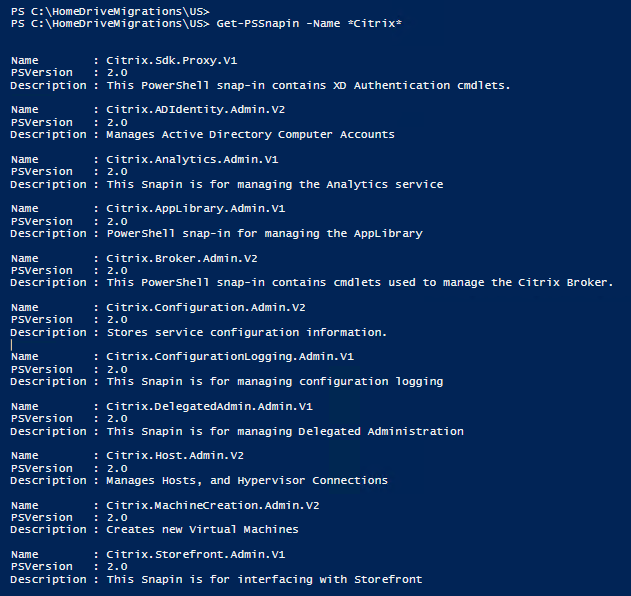
You can now see that Citrix Snap ins are added to PowerShell successfully.
All good, lets start with the authentication before we start any commands, we should enter the below line. The easiest and the best way according to me is to leverage the CloudAPI in Citrix. You will need to create a Secure Client for Citrix Cloud APIs by logging into Citrix Cloud Console.
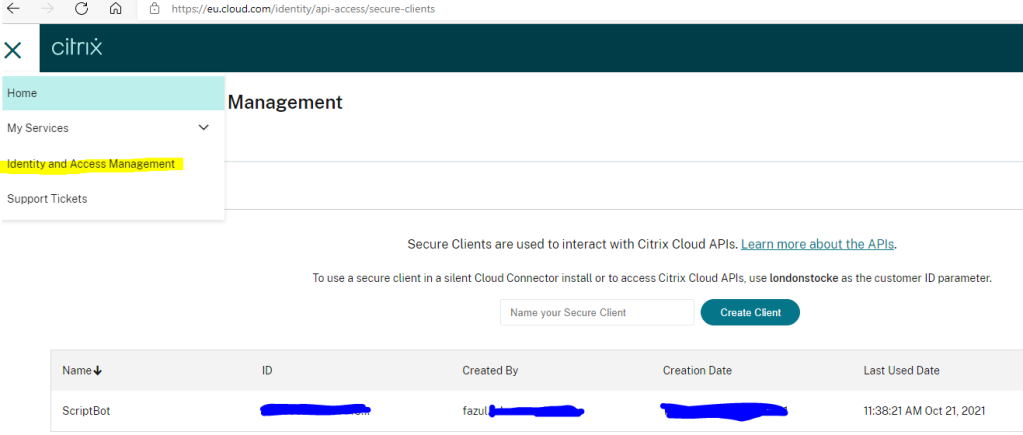
You will get a ID and Key which you can download and use it for authentication for the below command.
Set-XDCredentials -CustomerID "You Customer ID" -SecureClientFile "You File Location" -proFileType CloudAPI -storeas Default
This command will authenticate you via Citrix Cloud API on you powershell Session.
Will catch you guys with Managing Citrix Xendesktop via Powershell on the next blog.

One thought on “Getting Started with Citrix Cloud via Powershell”